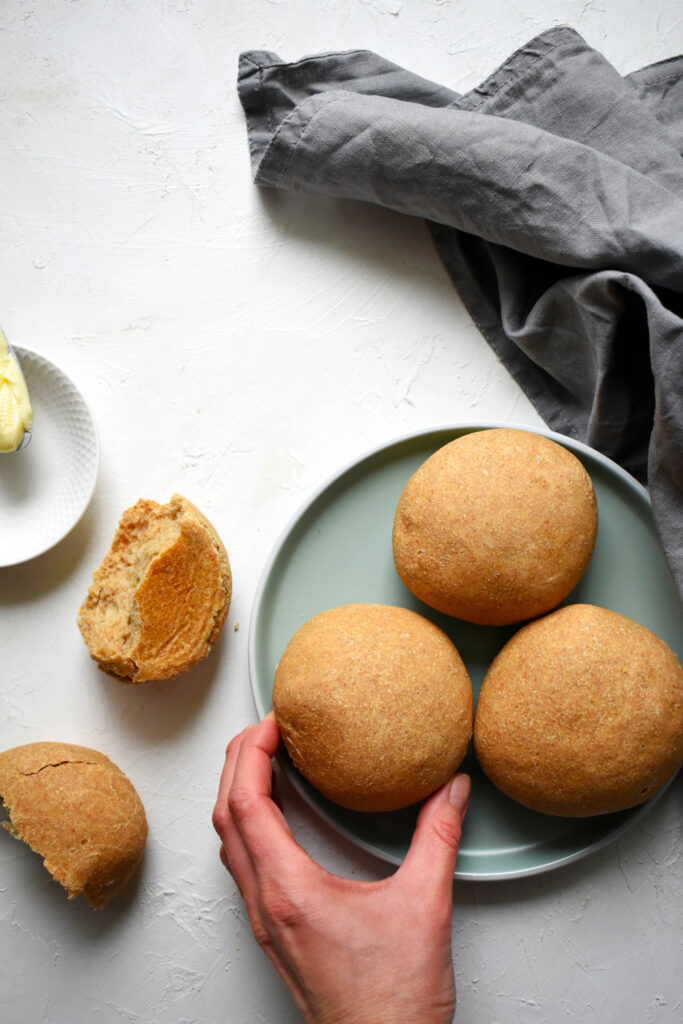
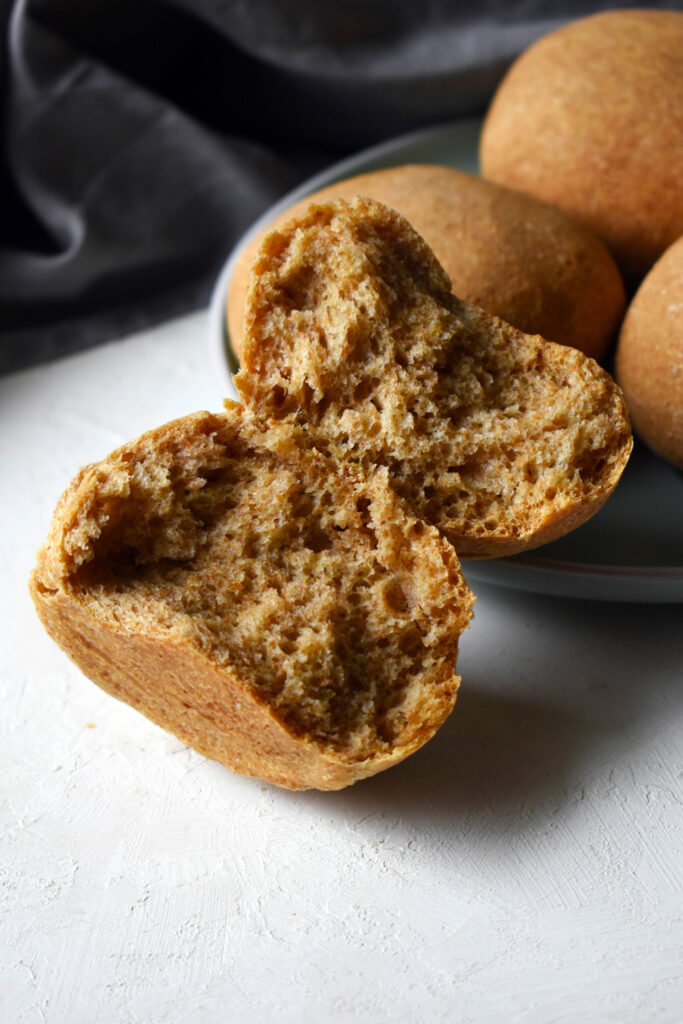
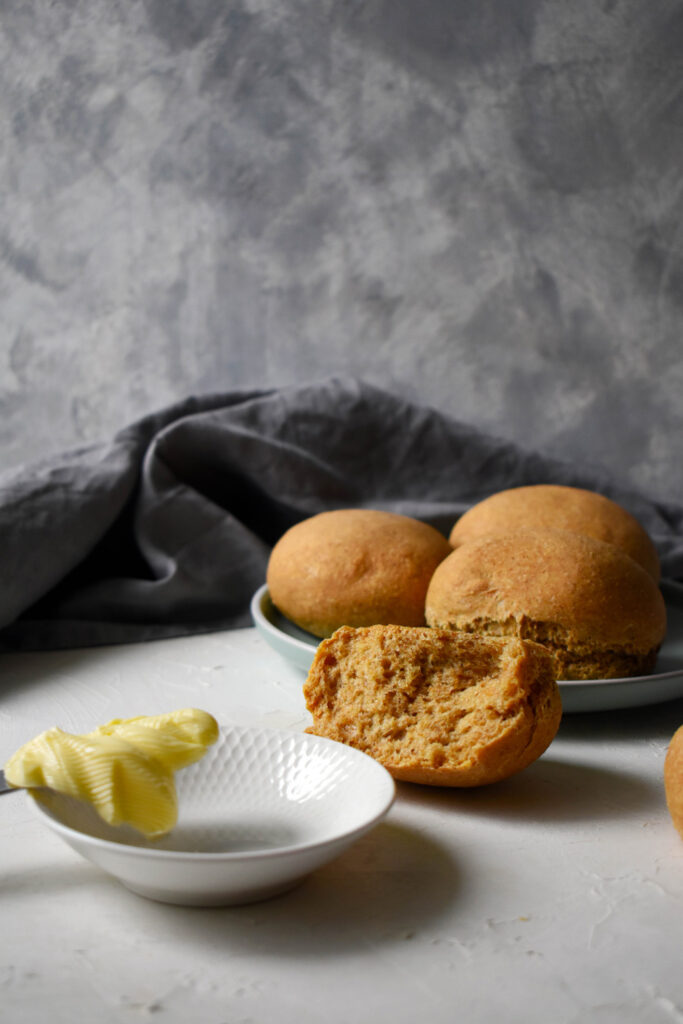
Homemade Whole Wheat Bread Rolls
This Way You Really Know What You’re Eating
My biggest issue with most store-bought whole wheat rolls is that their ingredient lists often contain additives. I prefer natural foods, and if I eat this kind of bakery product every day, I don’t want to put unknown substances into my body.
I’ve already given up on trying to make rolls using only whole wheat flour. I experimented with it several times, but the texture and taste just weren’t right. I didn’t want to add any extra ingredients just to make them soft and delicious, so I decided to stick with all-purpose flour because it helps create the best texture. That’s still acceptable to me. At least I know exactly what I’m eating and they taste amazing!
5 rolls instead of 4
Update: For months, I used this recipe divided into 4 rolls. During that time, I realized that one whole roll was simply too much for me. I could barely finish it. For a while, I just cut the roll in half and ate only that for breakfast.
Then I realized that dividing the dough into 5 portions instead of 4 works much better for me, especially in terms of macronutrient values.
In my 1300-calorie, 160-gram carbohydrate meal plan, 30 grams of carbohydrates is enough for breakfast. A roll divided into 5 portions contains 32 grams of carbohydrates, making it a better choice for me than the larger roll divided into 4 portions.
Measuring the Portions
I changed one more thing while baking these rolls. I always had trouble because one roll would turn out bigger than the others. I just couldn’t divide the dough evenly enough. But that problem is over now!
Before shaping the rolls, I weigh the entire raw dough. Then I divide the total weight by 5, which tells me exactly how much each raw roll should weigh. (Depending on hydration, mine usually come out between 93-96 grams each.)

Homemade Whole Wheat Bread Rolls
Ingredients
- 150 g whole wheat flour (rye flour works as well)
- 100 g all-purpose flour
- 25 g fresh yeast
- 2 tablespoons olive oil
- 180 ml lukewarm water
- 1 teaspoon salt
Instructions
- Pour the flours into a bowl, making sure the white flour is on top. Create a small well in the middle and crumble the yeast into it.
- Add the lukewarm water and knead by hand. There’s no need to knead for too long at this stage, just combine the ingredients so the dough starts coming together. Cover it and let it rest in a warm place for 10 minutes.
- After 10 minutes, add the olive oil and salt. Now knead the dough more firmly. Don’t be gentle with it – punch it, slap it, and throw it against the bowl if needed. The goal is for the dough to become smooth and shiny, pull away from the sides of the bowl, and develop air bubbles inside. Really work that dough!
- After that, both you and the dough deserve a little rest. Cover the dough and let it rise in a warm place for 40 minutes.

- After 40 minutes, the dough should roughly double in size.

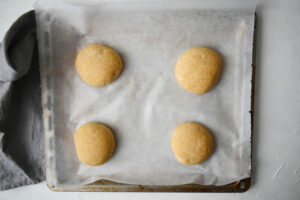
- Remove it from the bowl and divide it into 4 or 5 portions – whichever you prefer. Shape the portions into rolls and place them on a baking tray lined with parchment paper. Cover again and let them rise for about 30 minutes in a warm place.

- I usually don’t brush the tops with anything, but if you’d like them shinier, you can brush them with milk, water, or egg yolk before baking.
- Bake in a preheated oven at 200°C / 392°F (top and bottom heat with fan/convection) for 20-25 minutes.
- Once baked, let the rolls cool completely before eating them.
- I usually store them in a bag in the refrigerator. This way, they keep for about one week (although they never lasted that long in my house – they might even survive for two weeks). After taking them out of the fridge, I warm them up a little, and they taste just as delicious as when freshly baked.


Calories and macros
Did you like it? There’s more where that came from. 🙂 Sign up for my newsletter!